
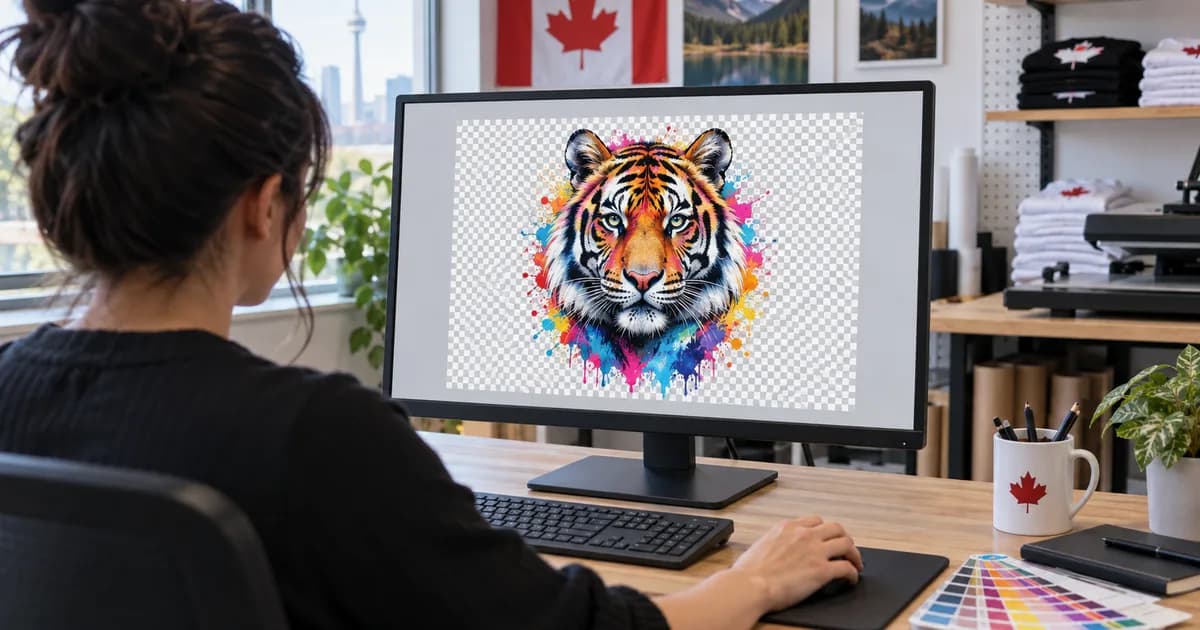
“Send a transparent PNG at 300 DPI” is common print advice, but the phrase is easy to misunderstand. A useful file needs real pixel detail at the size it will be printed; changing a DPI label alone cannot create missing detail.
Understanding the basics helps you avoid white boxes, jagged edges, and blurry enlarged graphics.
Worked Pixel-Size Examples at 300 DPI
Multiply the intended width and height in inches by 300 to find the pixel dimensions for a 300-DPI file. A 1200 × 1200-pixel image prints at 4 × 4 inches at that resolution; at 8 × 8 inches the same pixels provide 150 DPI. Changing the DPI label alone does not add detail.
| Print size | Pixel dimensions |
|---|---|
| 3 × 3 inches | 900 × 900 pixels |
| 4 × 4 inches | 1200 × 1200 pixels |
| 10 × 12 inches | 3000 × 3600 pixels |
Transparency Removes the Unwanted Rectangle
PNG supports transparent pixels. When the background is truly transparent, only the intended design receives ink. A white background saved inside the image is not transparency and may print as a white rectangle.
Pixels Determine Available Detail
For a ten-inch-wide print at 300 pixels per inch, aim for about 3000 pixels of width. A 600-pixel web image enlarged to ten inches does not become sharp because its metadata says 300 DPI.
Check Final Size Before Export
Set the document to the intended print dimensions, inspect it at 100 percent, and look closely at curves, small lettering, and fine outlines. Vector artwork should be rasterized at the final size and resolution.
Protect Soft Edges and Fine Detail
Good anti-aliasing creates smooth edge pixels. Aggressive background removal can leave a light halo or chew into hairline details. Review artwork on both dark and light backgrounds before uploading.
Trim Transparent Borders
Transparency around a design still occupies layout space until it is trimmed. Use Smart Trim after background removal so the builder nests the visible artwork rather than a large invisible canvas.
Choose a Print Size Before Exporting
Use the garment print-size guide to choose the finished size, then follow the gang-sheet preflight checklist. Measure the visible artwork after removing unwanted transparent borders.
Practical Takeaway
Use a transparent PNG with enough real pixels for the final dimensions, inspect its edges, and trim unused canvas. Those checks matter more than the DPI label by itself.
Ready for the next step? follow the complete artwork checklist.