
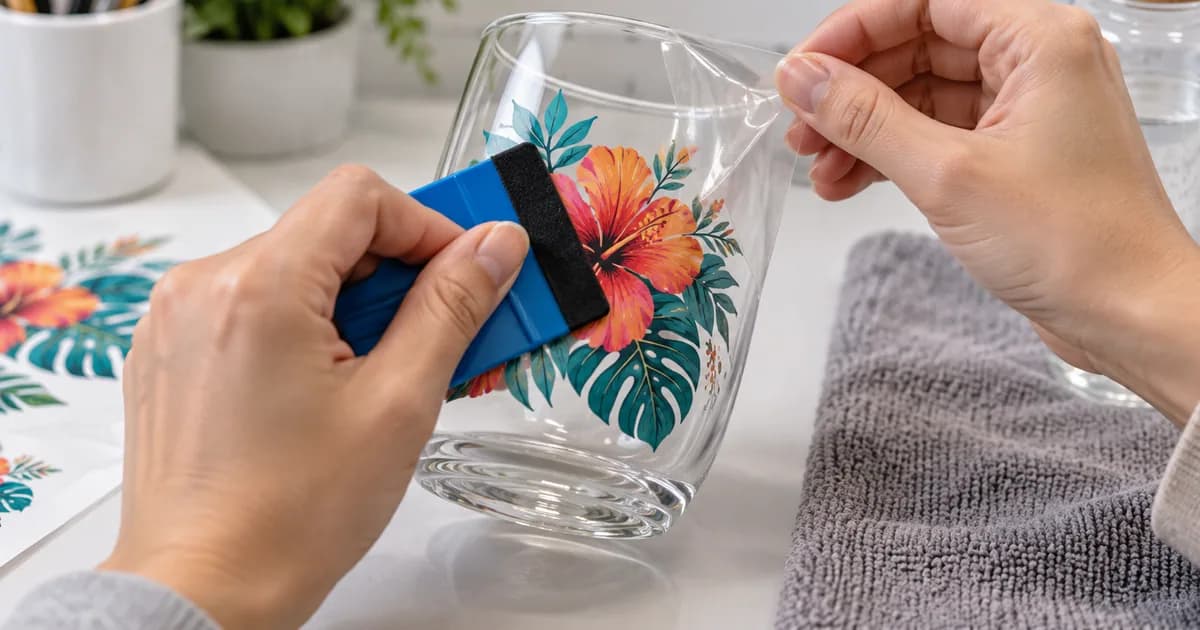
Clean preparation and patient pressure are the keys to UV DTF application. Rushing the peel can leave small details on the carrier, while dust or skin oil can weaken the bond.
Follow the instructions supplied with your transfer and test the exact product surface before a customer batch.
Clean and Dry the Surface
Remove dust, grease, manufacturing residue, and fingerprints with a cleaner appropriate for the object. Let the surface dry fully and avoid touching the cleaned application area.
Plan Placement Before Contact
UV DTF adhesive grabs quickly. Use a visual centre line or low-tack positioning guides outside the artwork area. For curved items, begin at one edge or the centre and work gradually so the transfer does not trap air.
Press and Burnish Thoroughly
Apply firm, overlapping strokes across the complete design, paying extra attention to thin lettering and sharp corners. Use a felt-edged squeegee or another tool that will not scratch the carrier or object.
Peel Slowly at a Low Angle
Pull the carrier back over itself rather than straight upward. Watch every detail as it releases. If a section stays on the carrier, lay it back down and burnish again before continuing.
Allow the Bond to Set
Avoid immediate washing or heavy handling. Follow the supplied cure and care guidance. Hand washing is the safest default unless the completed product has been specifically tested for another method.
Practical Takeaway
Clean, align once, burnish every edge, and peel slowly. A short practice run on the exact blank is cheaper than discovering a coating problem during a full batch.
Ready for the next step? review UV DTF surface compatibility.